Photography
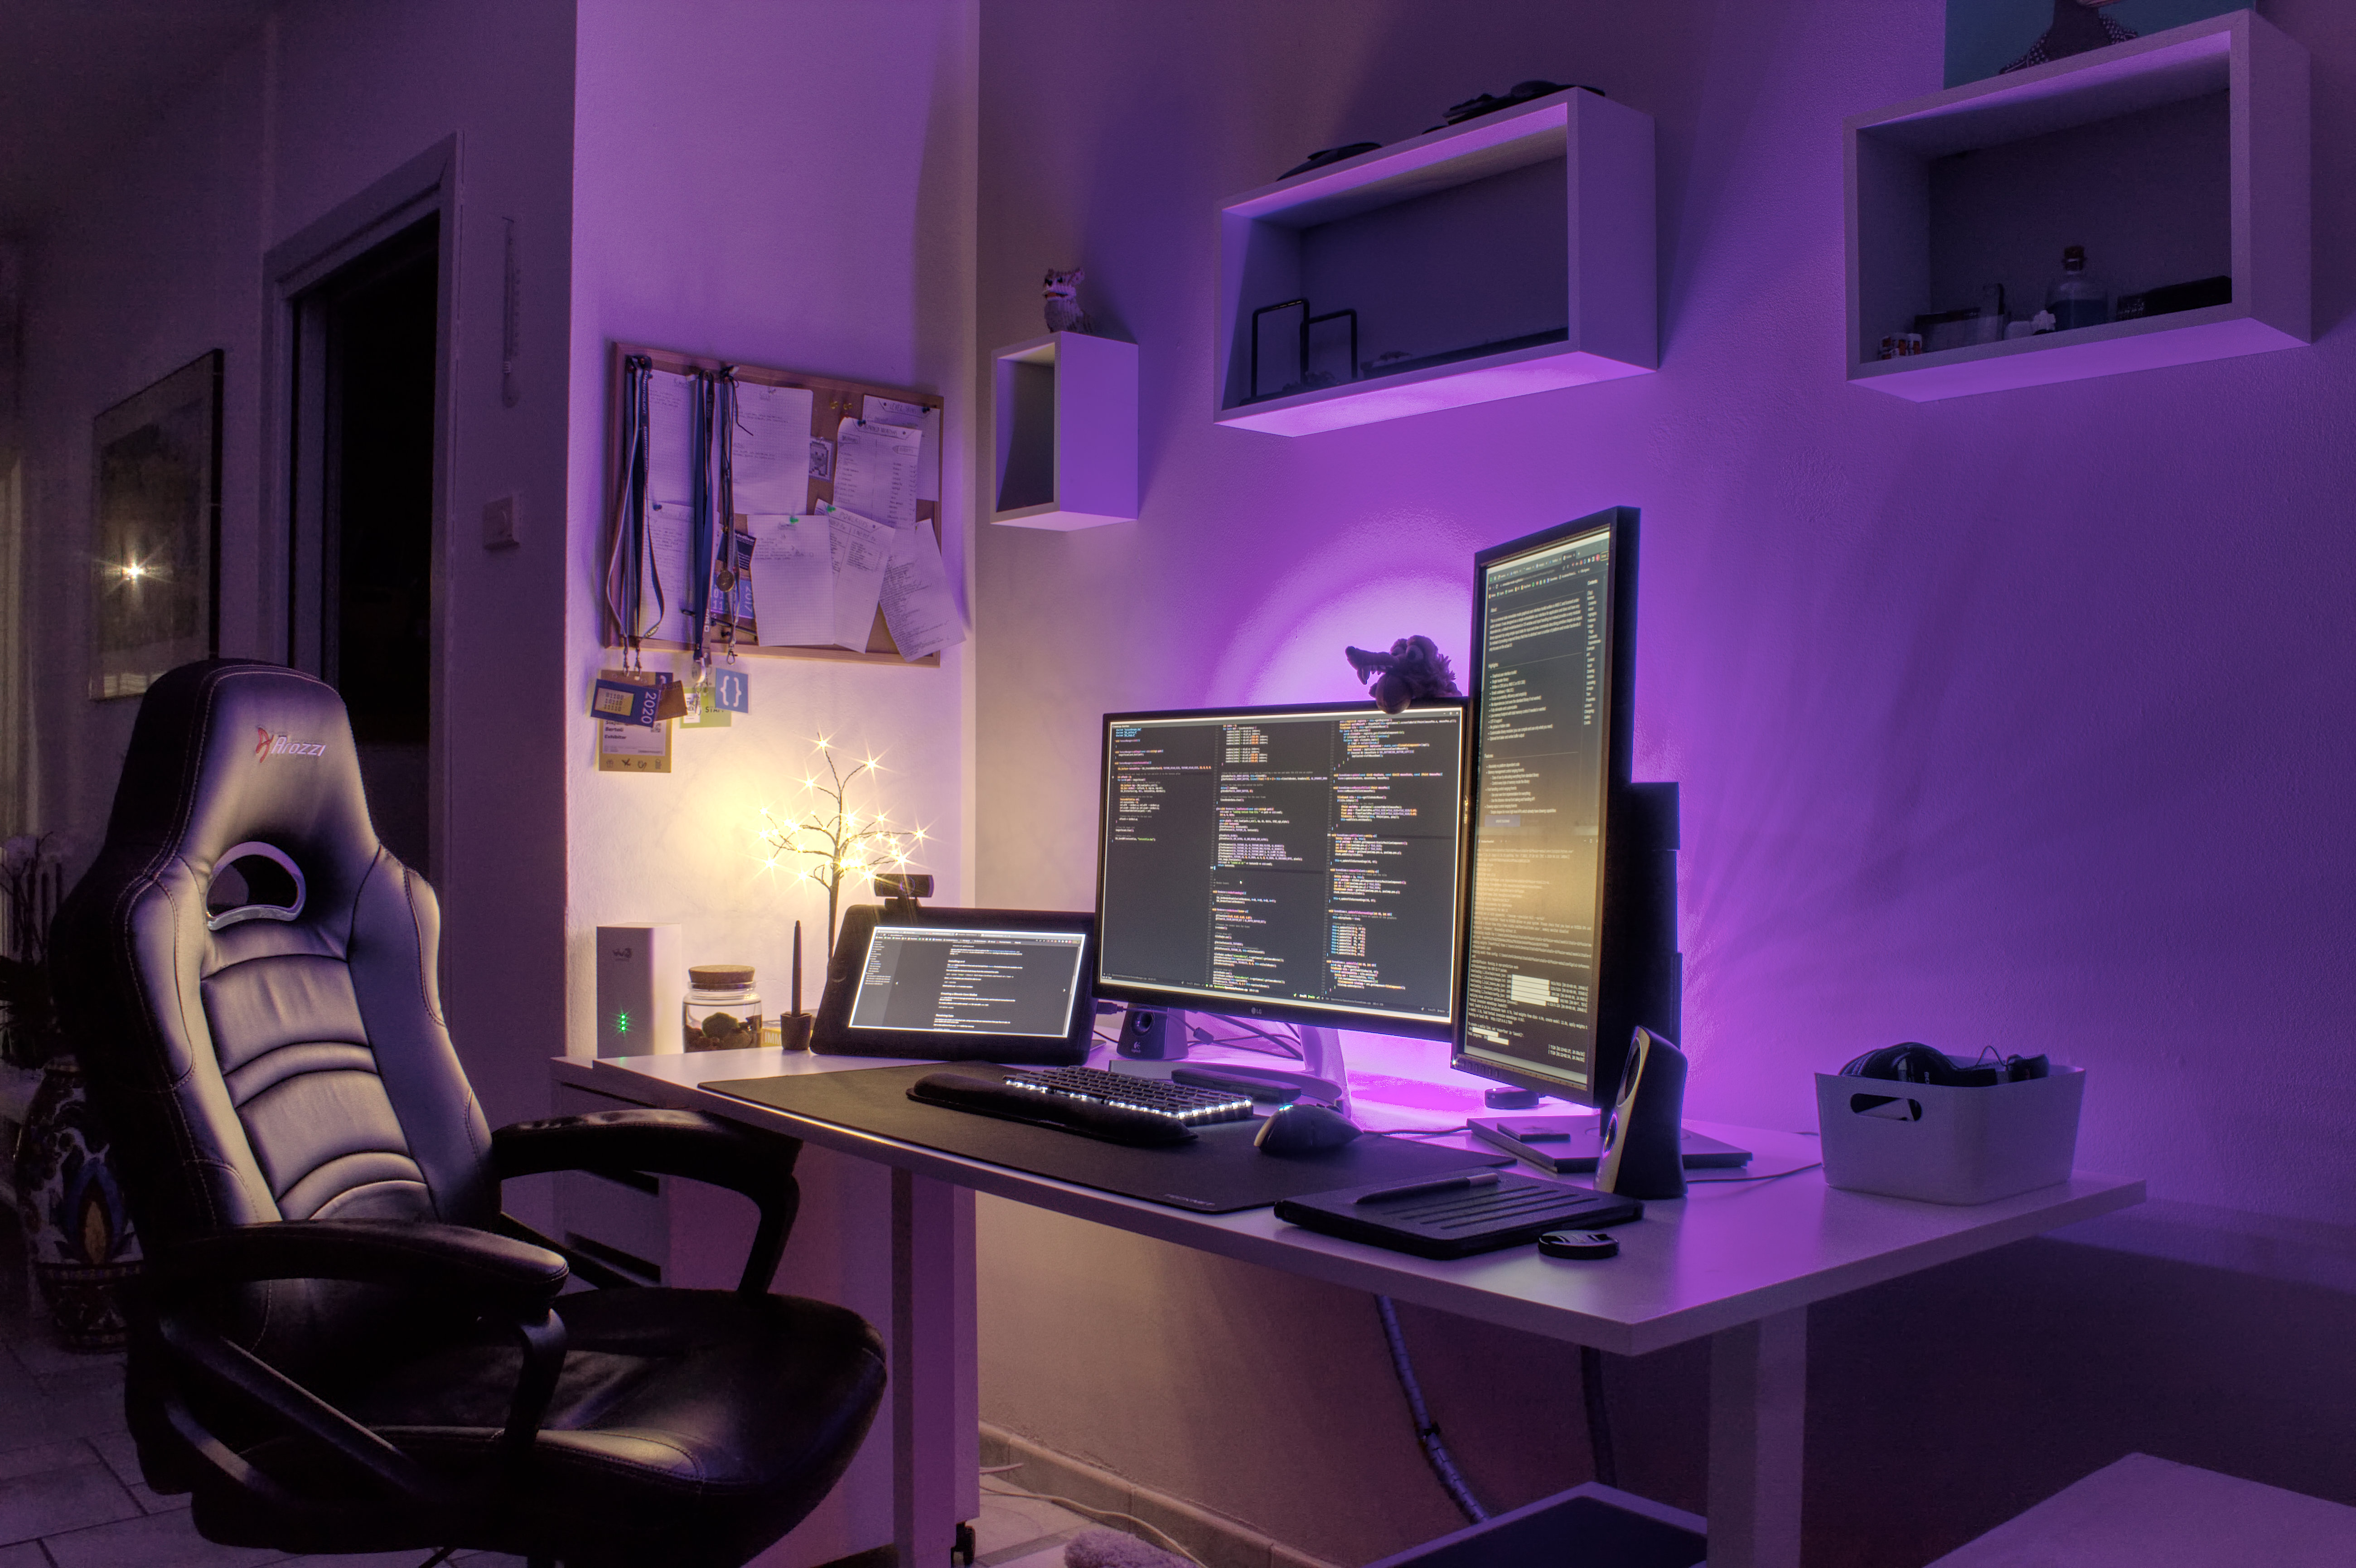
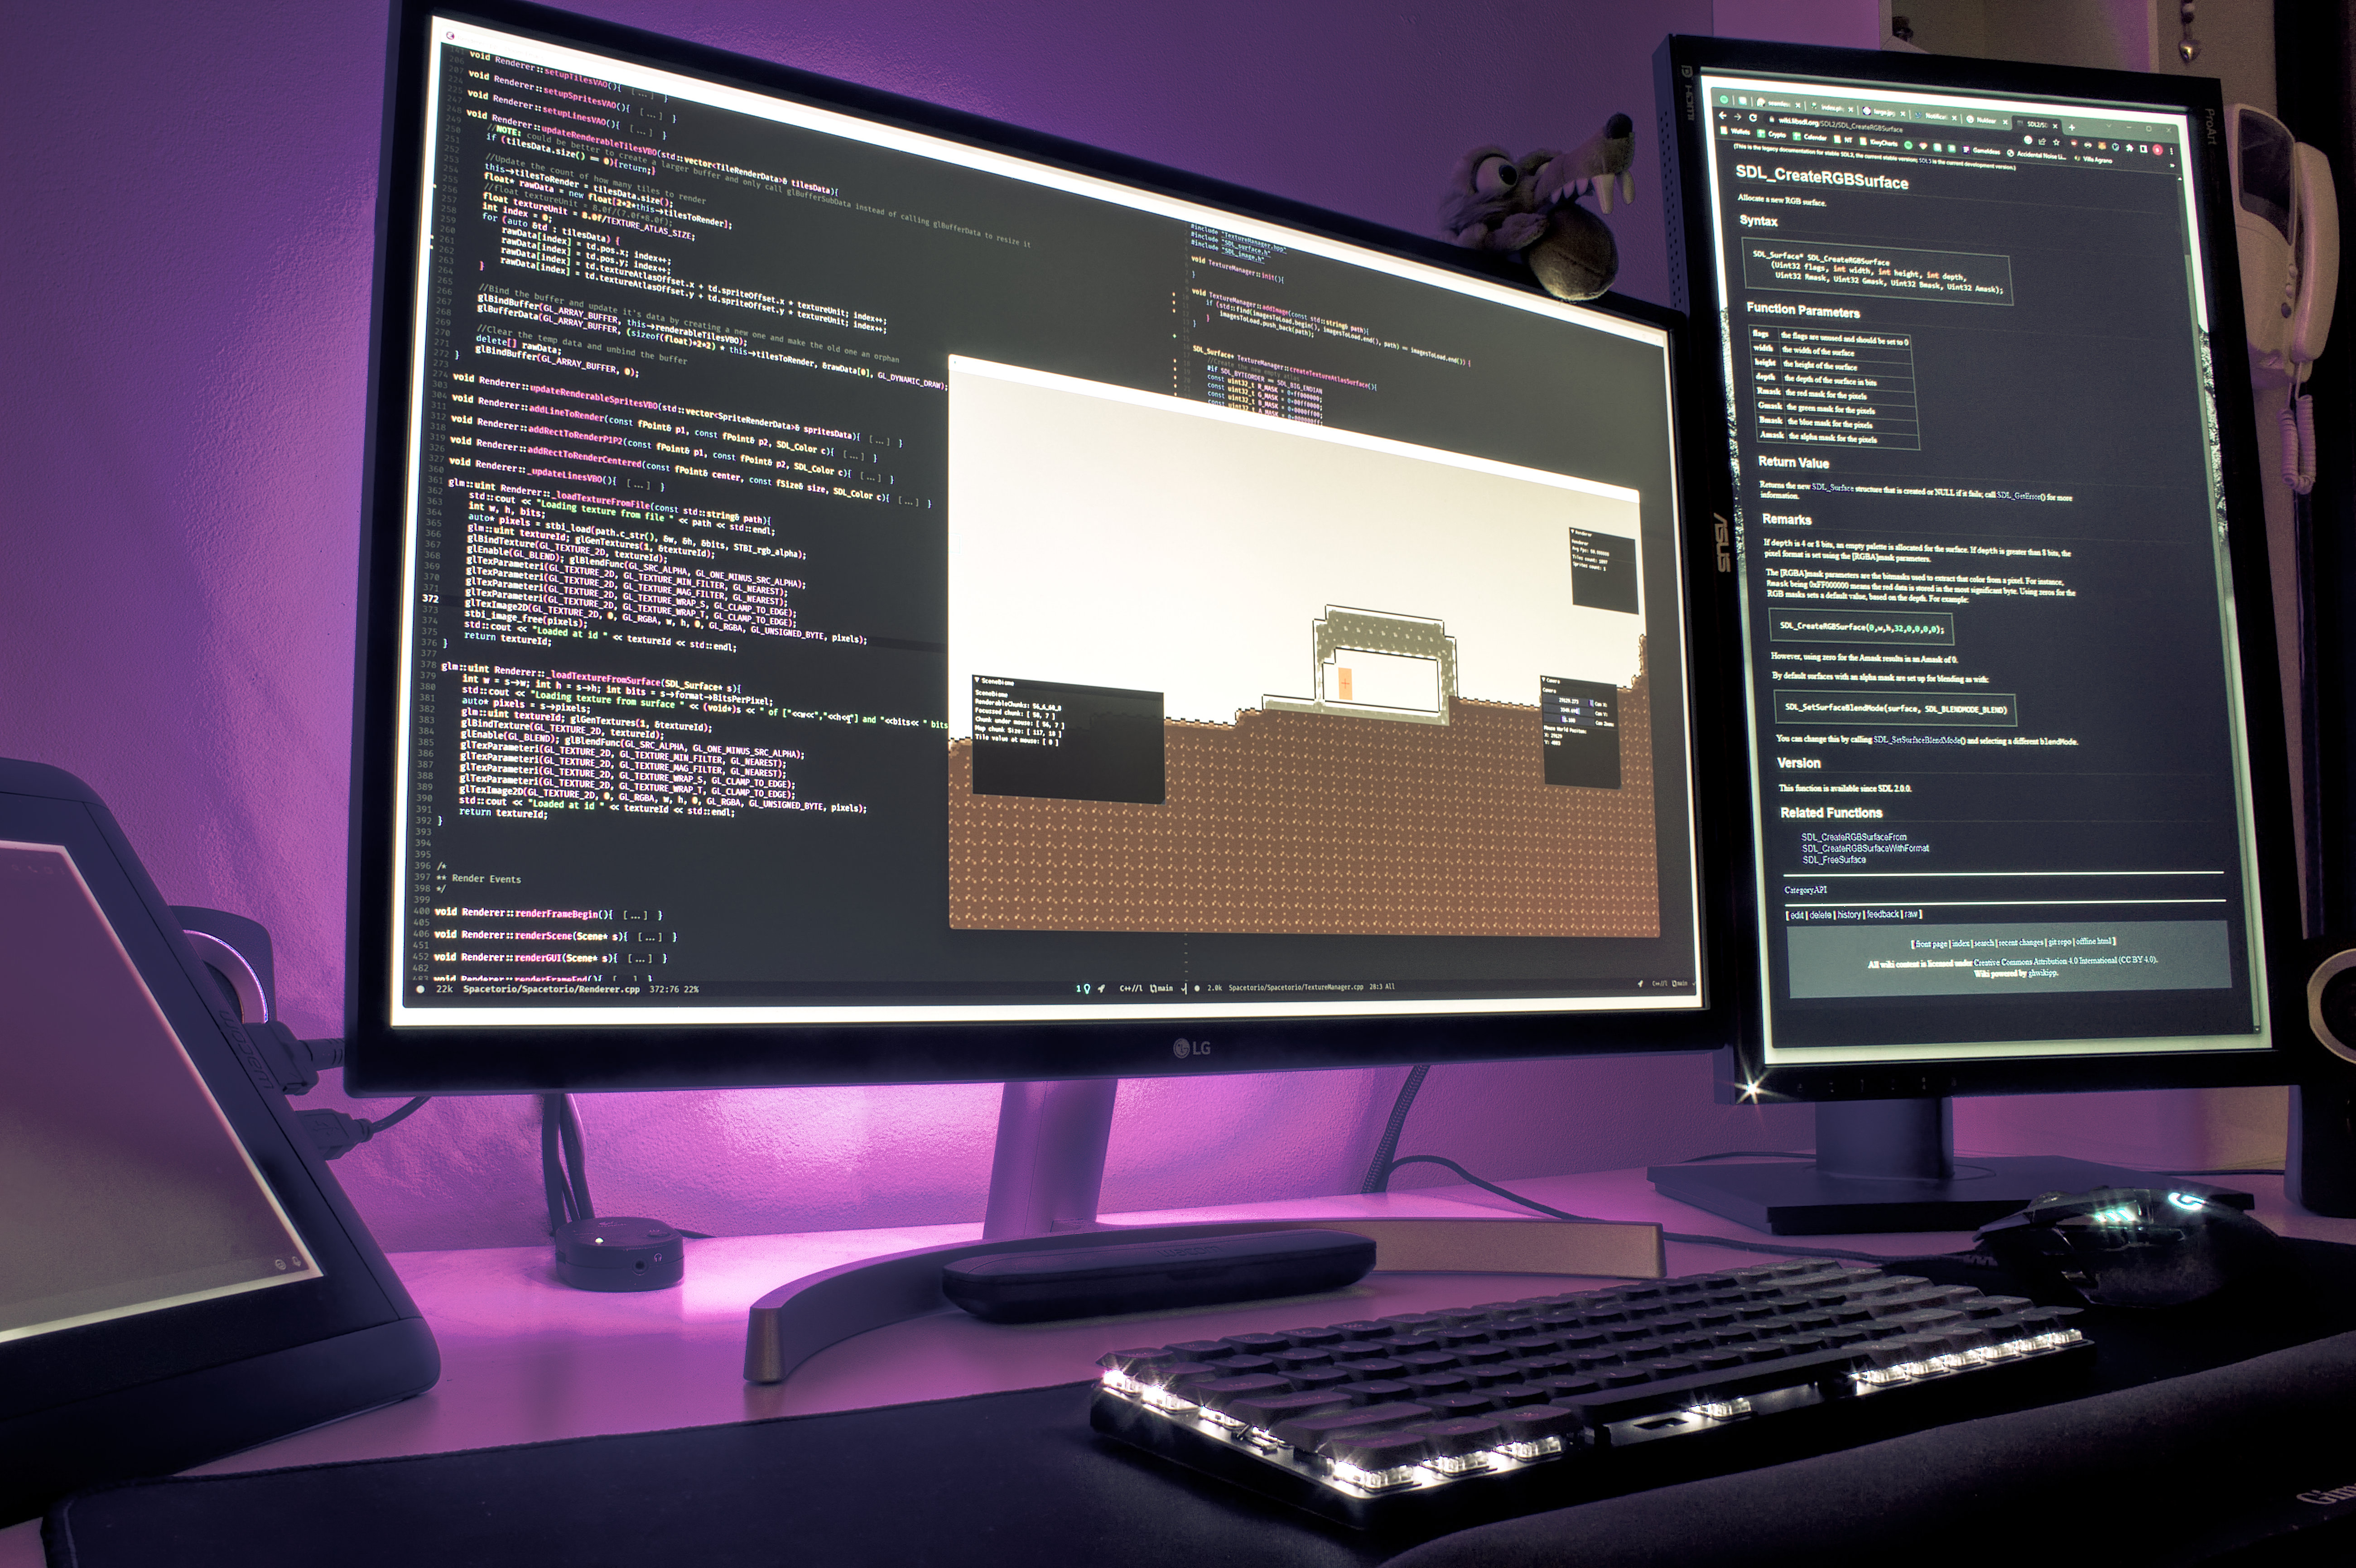
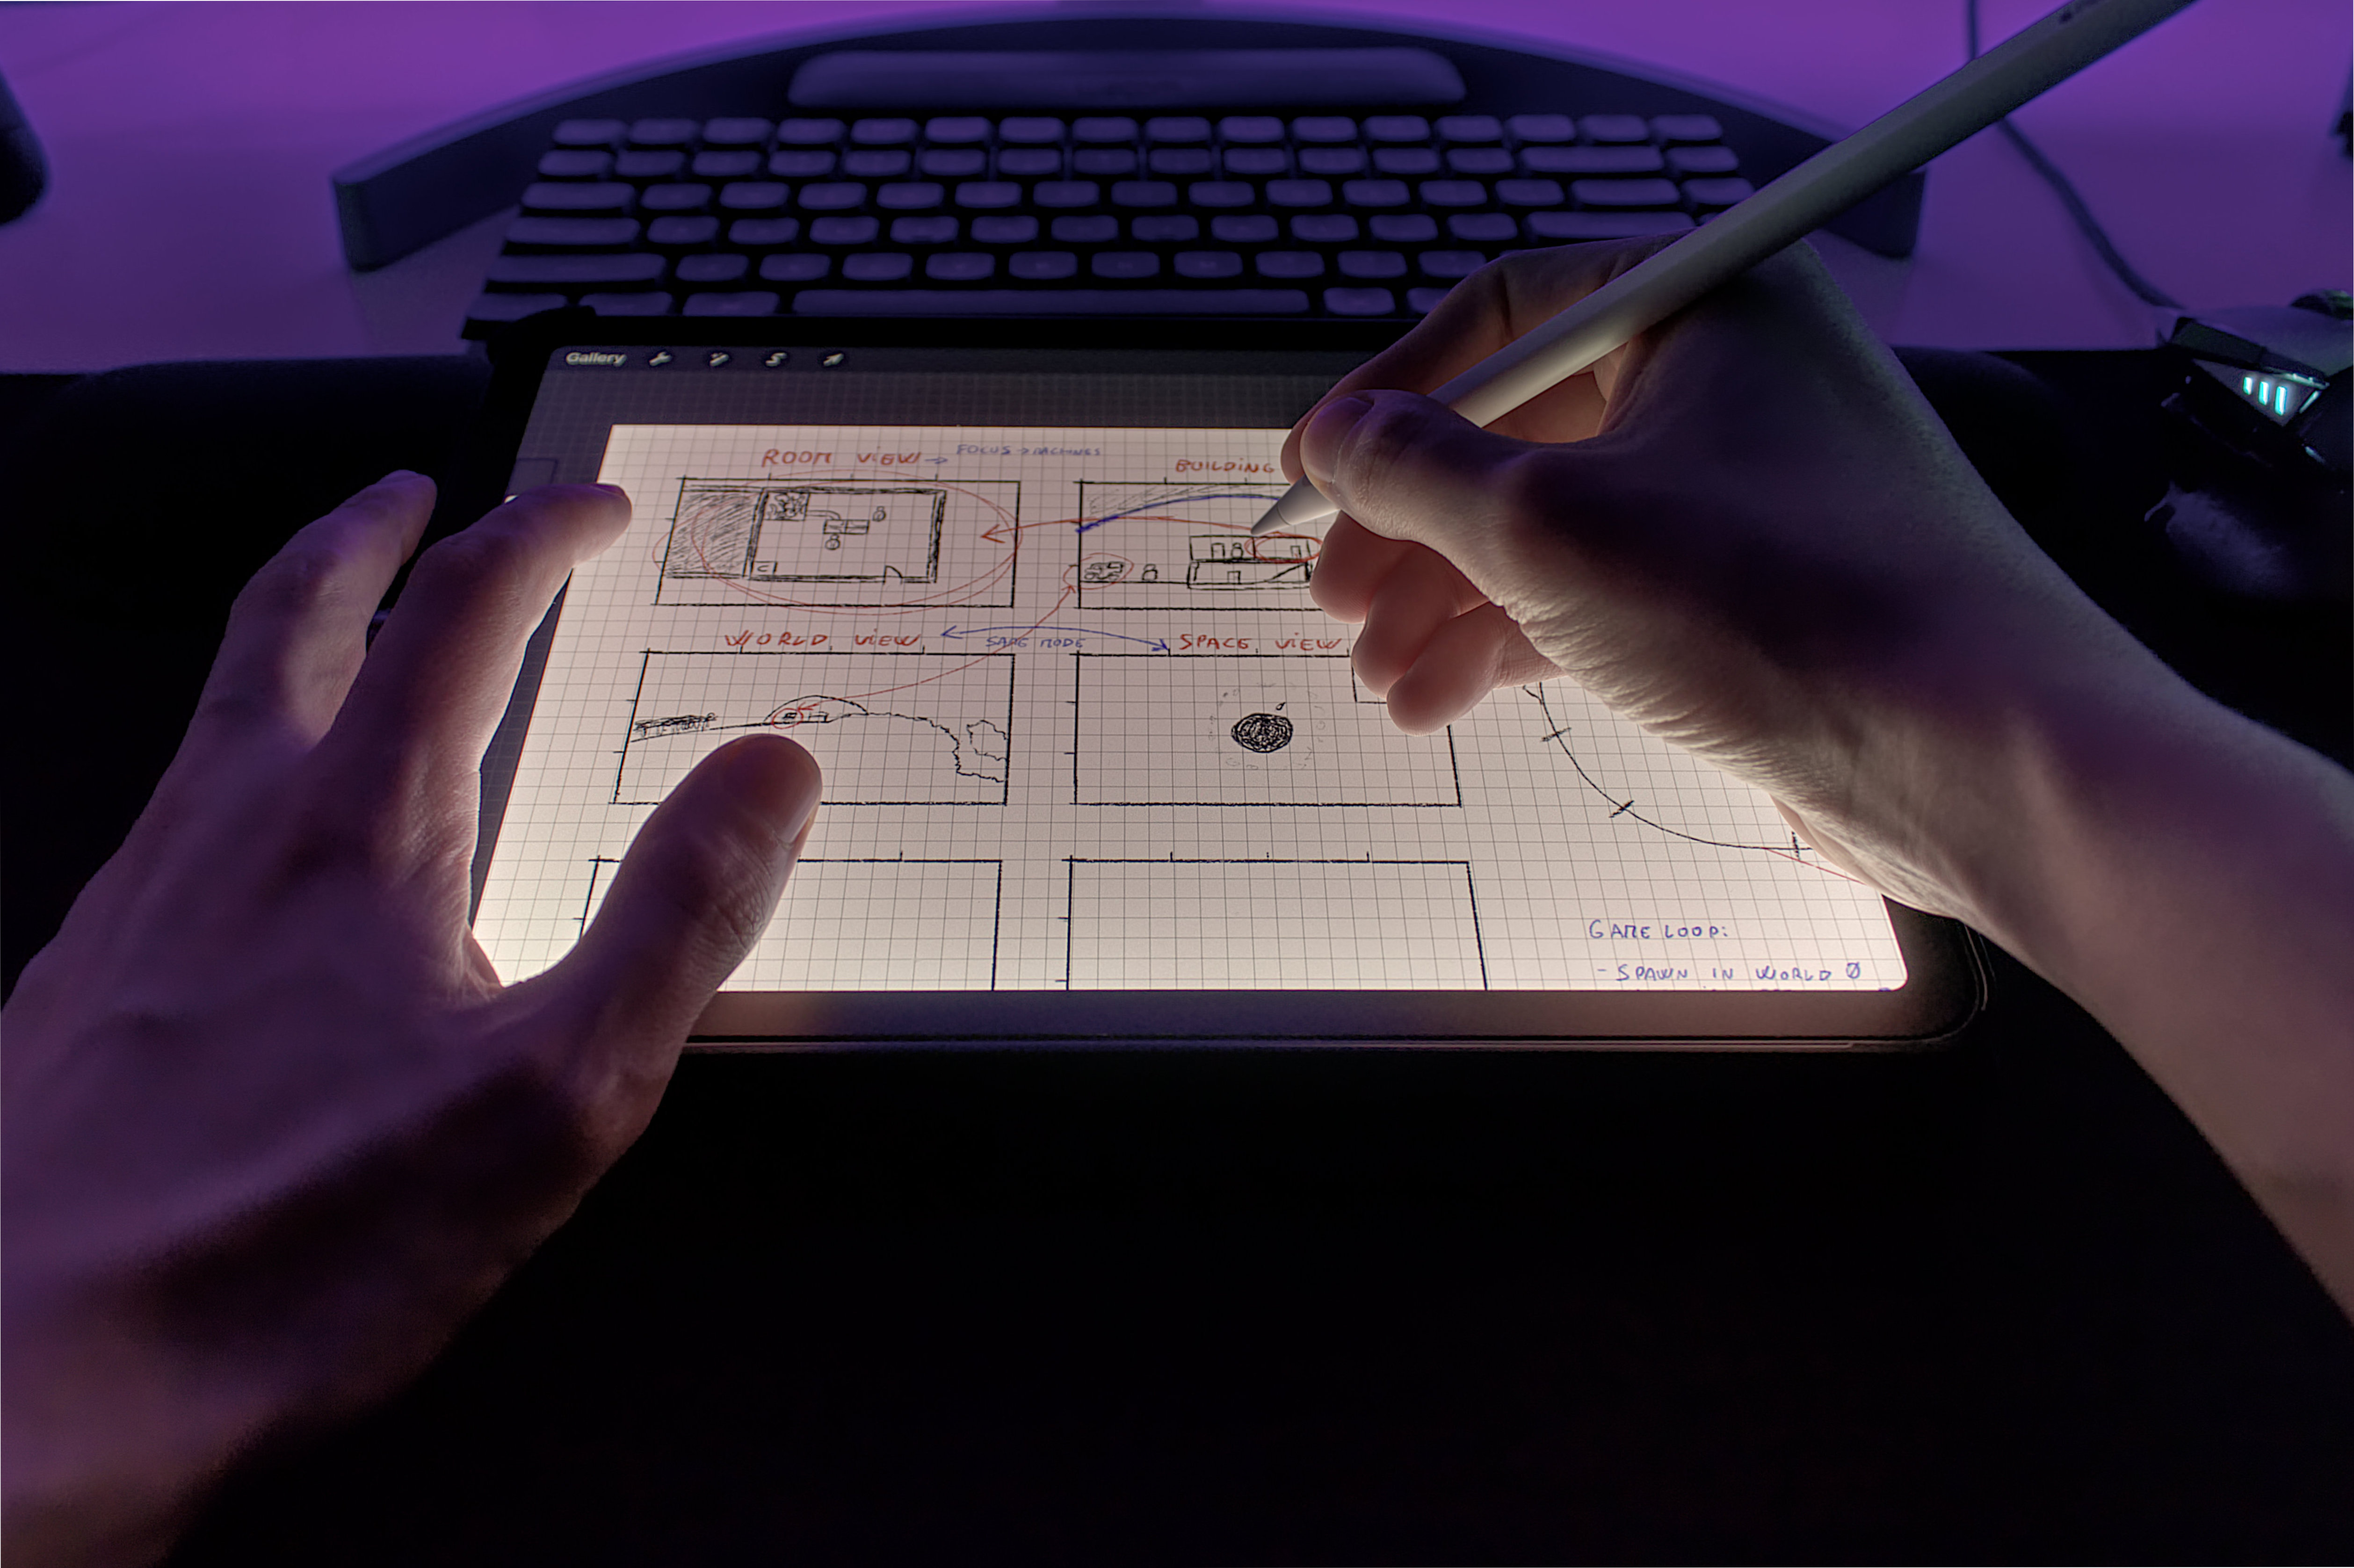
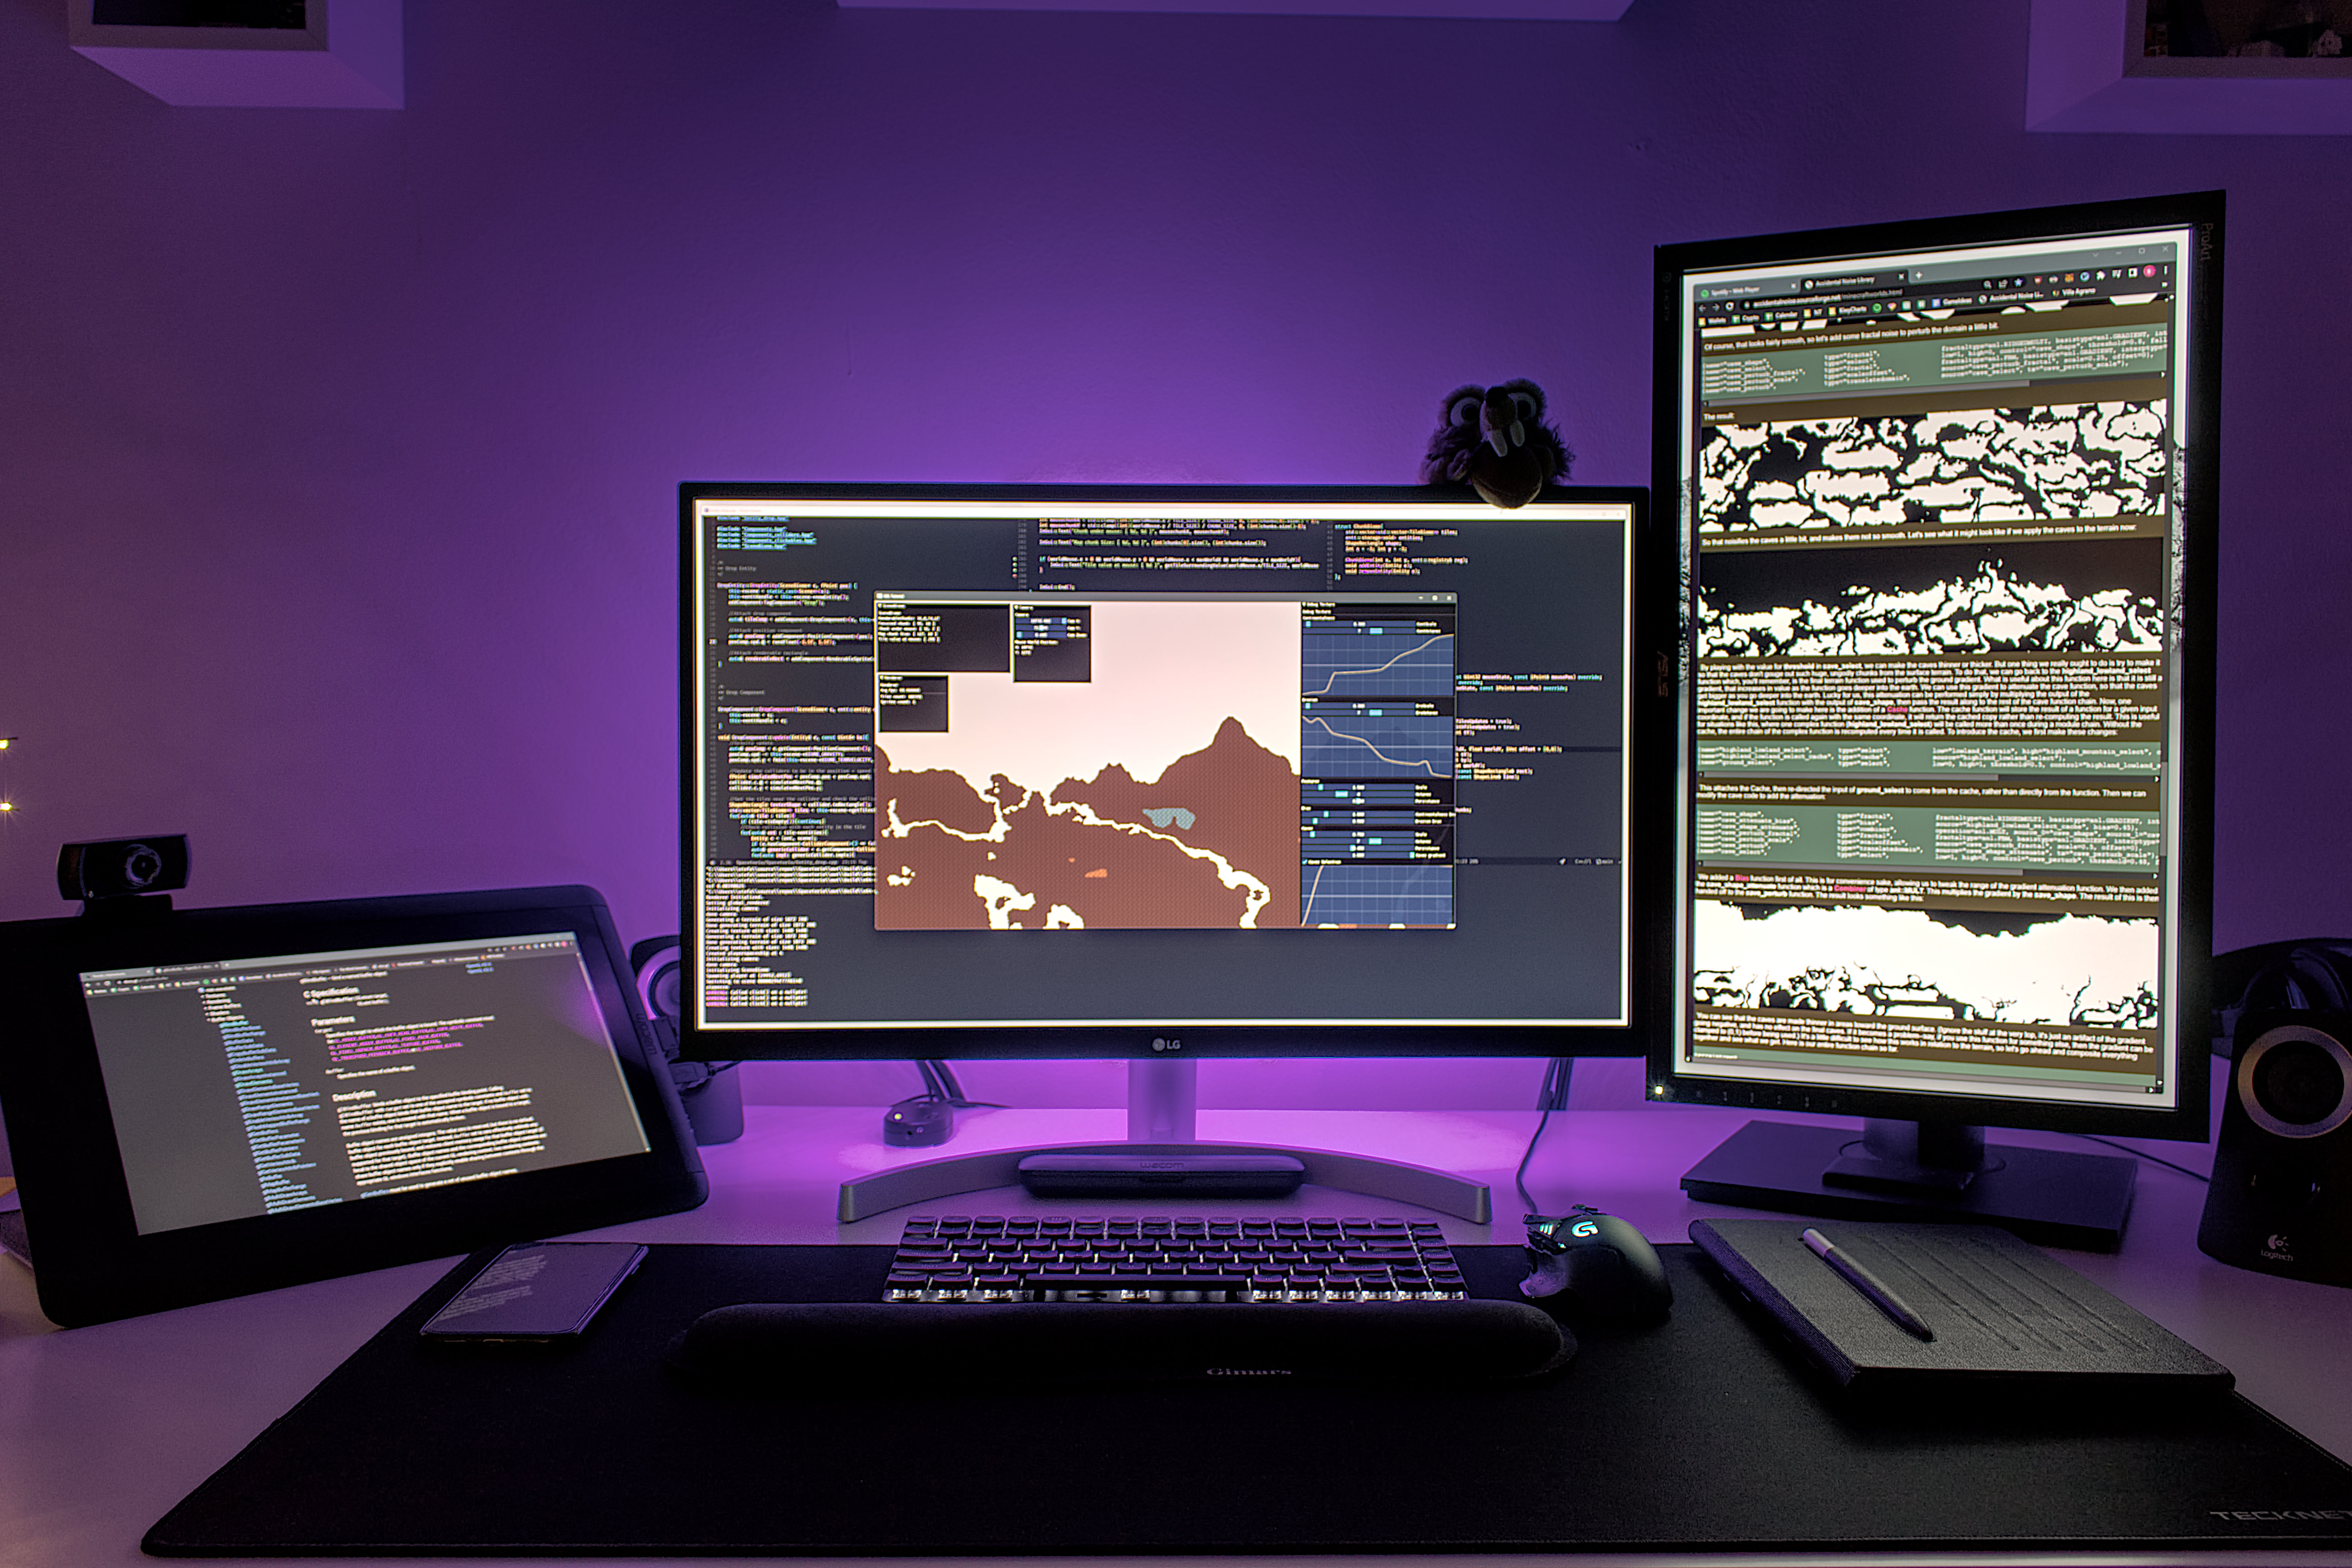
Some studies in a previously unexplored field.I began to explore manual camera settings to take pictures of my desktop workstation and the projects I work on. I found very interesting the science behind it and having to learn how to fine tune every setting in order to get the best quality possible even in low light conditions like the look I wanted to achieve.
-
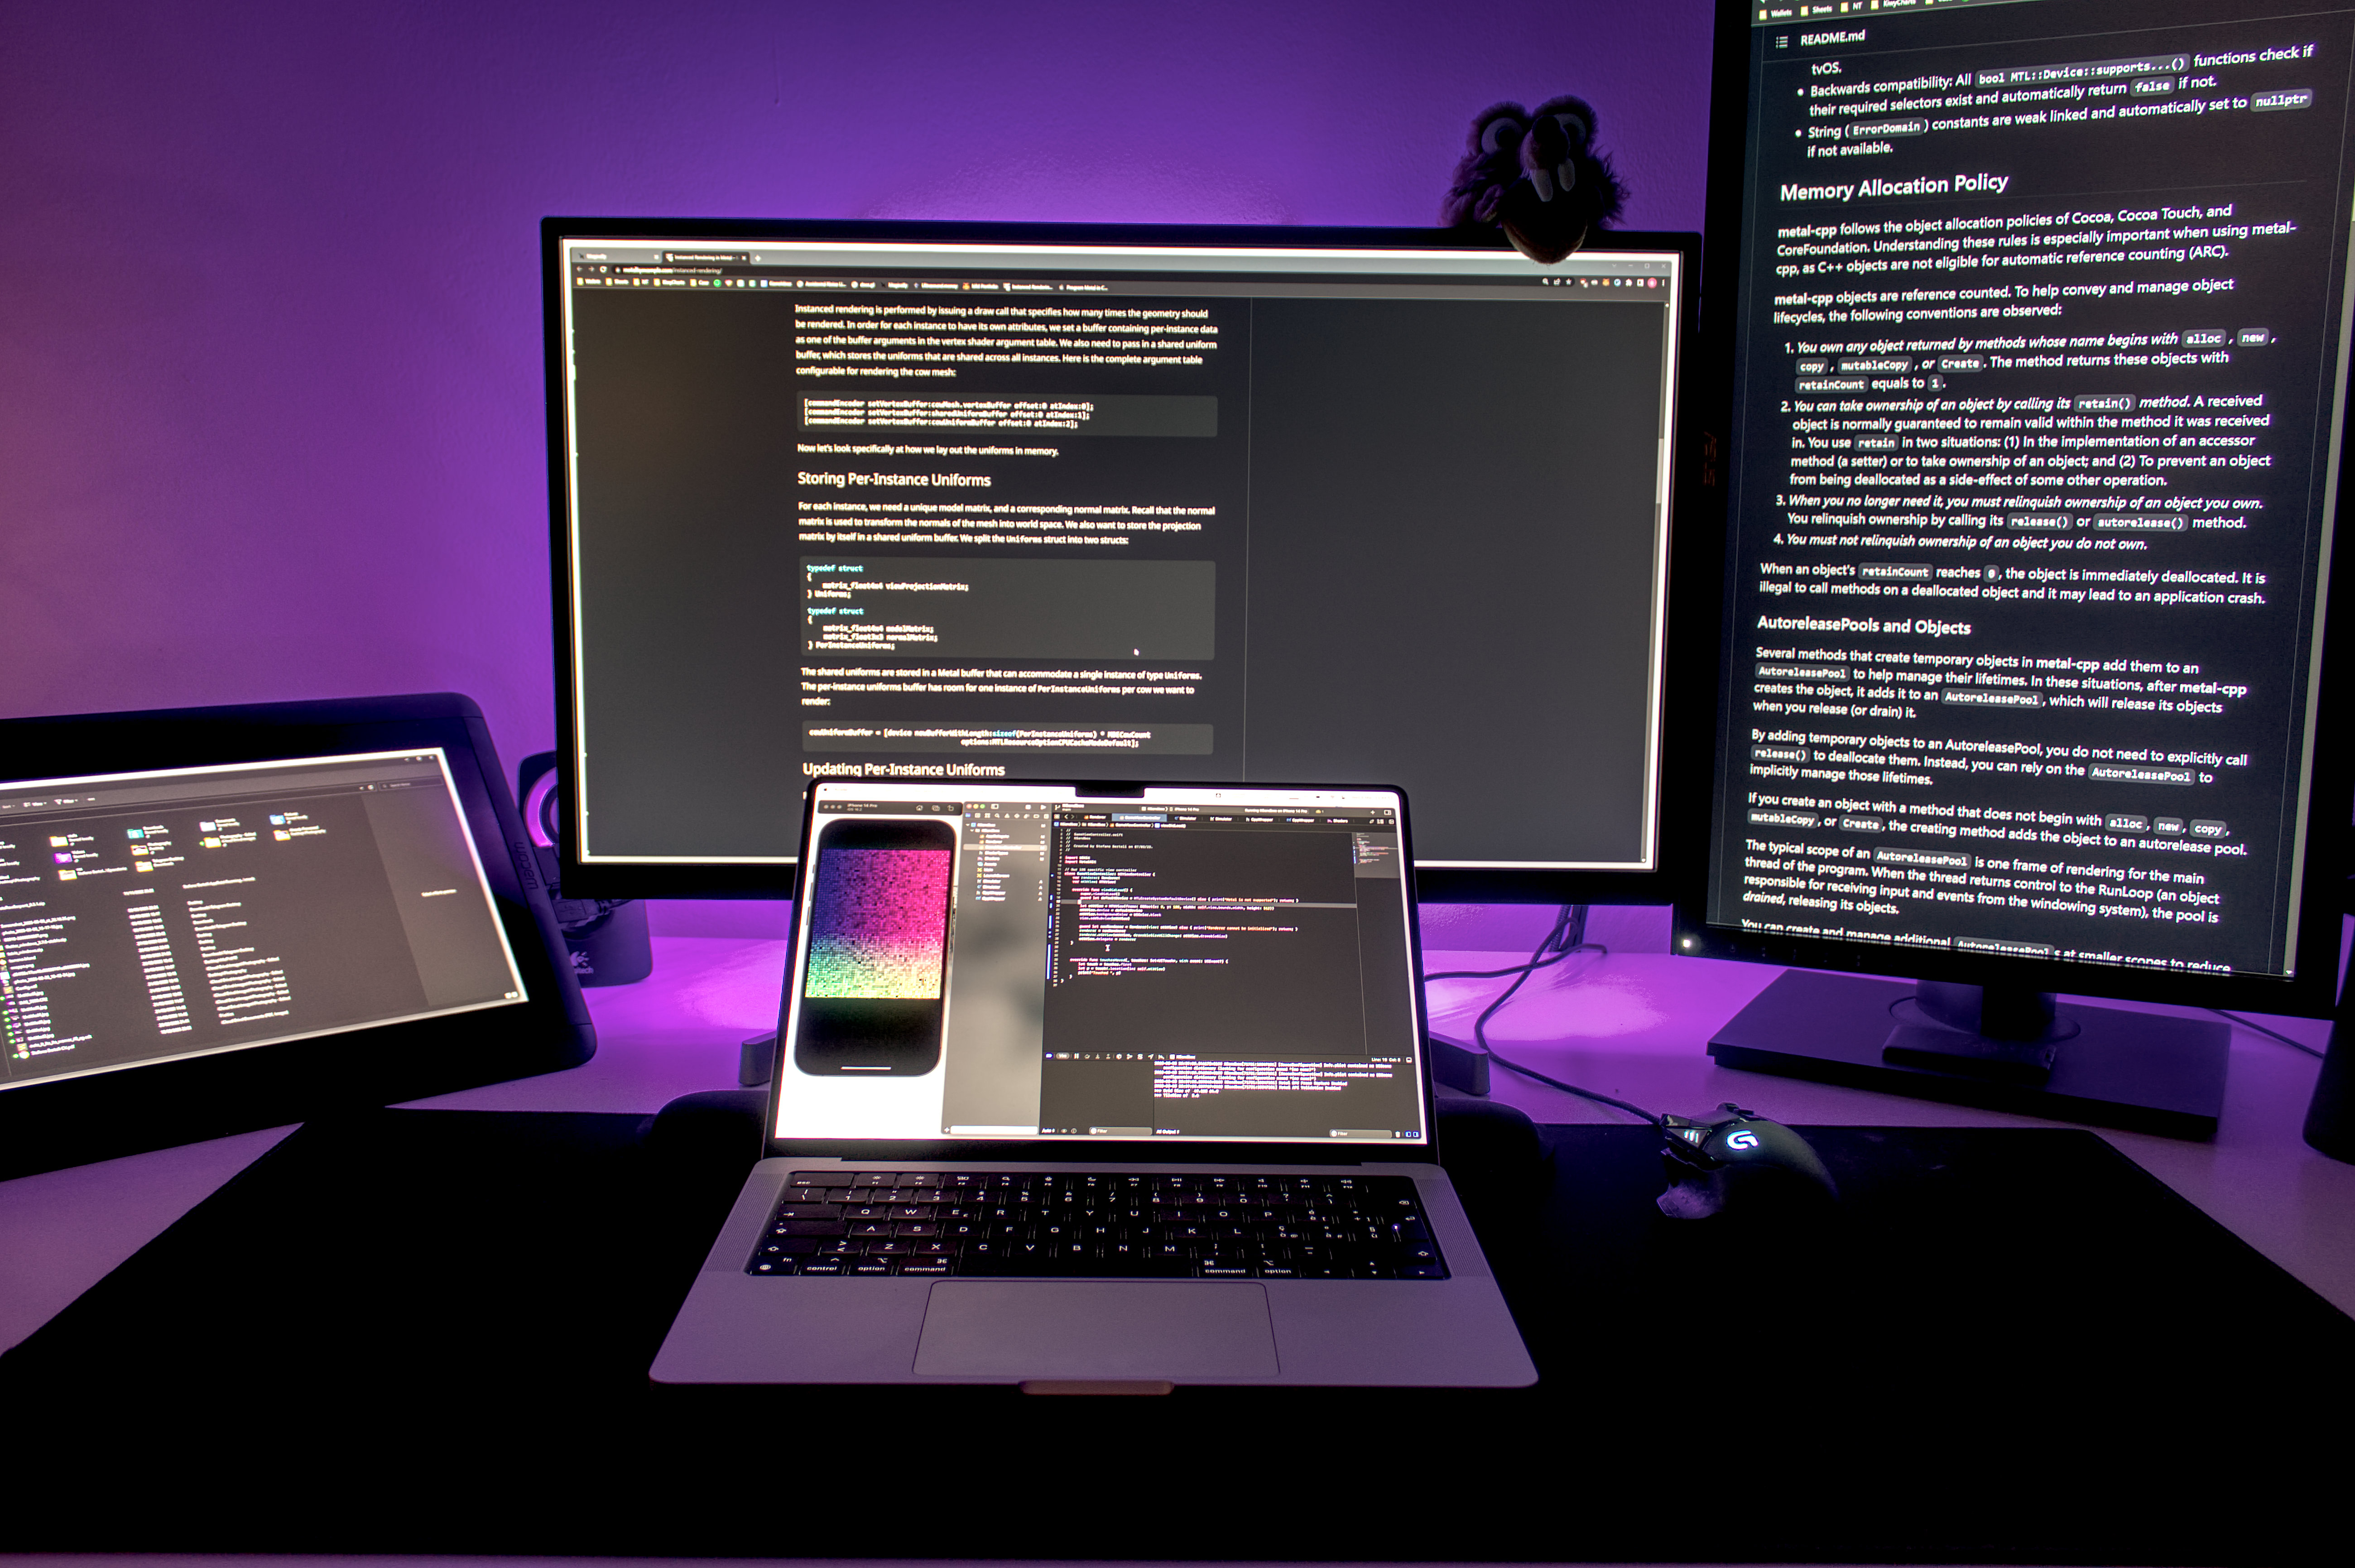
Aperture: My primary focus was on creating stunning shots in low light. I often used a wide aperture (e.g., f/1.8) to allow as much light as possible into the camera. This helped illuminate my desk and coding setup even in dimly lit environments.
-
ISO: To deal with low-light scenarios, I first tried to adjust the ISO setting with higher values (e.g., ISO 800 or 1600), but I quickly realized that I was already introducing too much noise in the picture and I didn't like the quality, so I tried to keep it as low as possible (around 200/400). This was crucial for capturing the details of my workspace when artificial lighting and LEDs were the primary light sources.
-
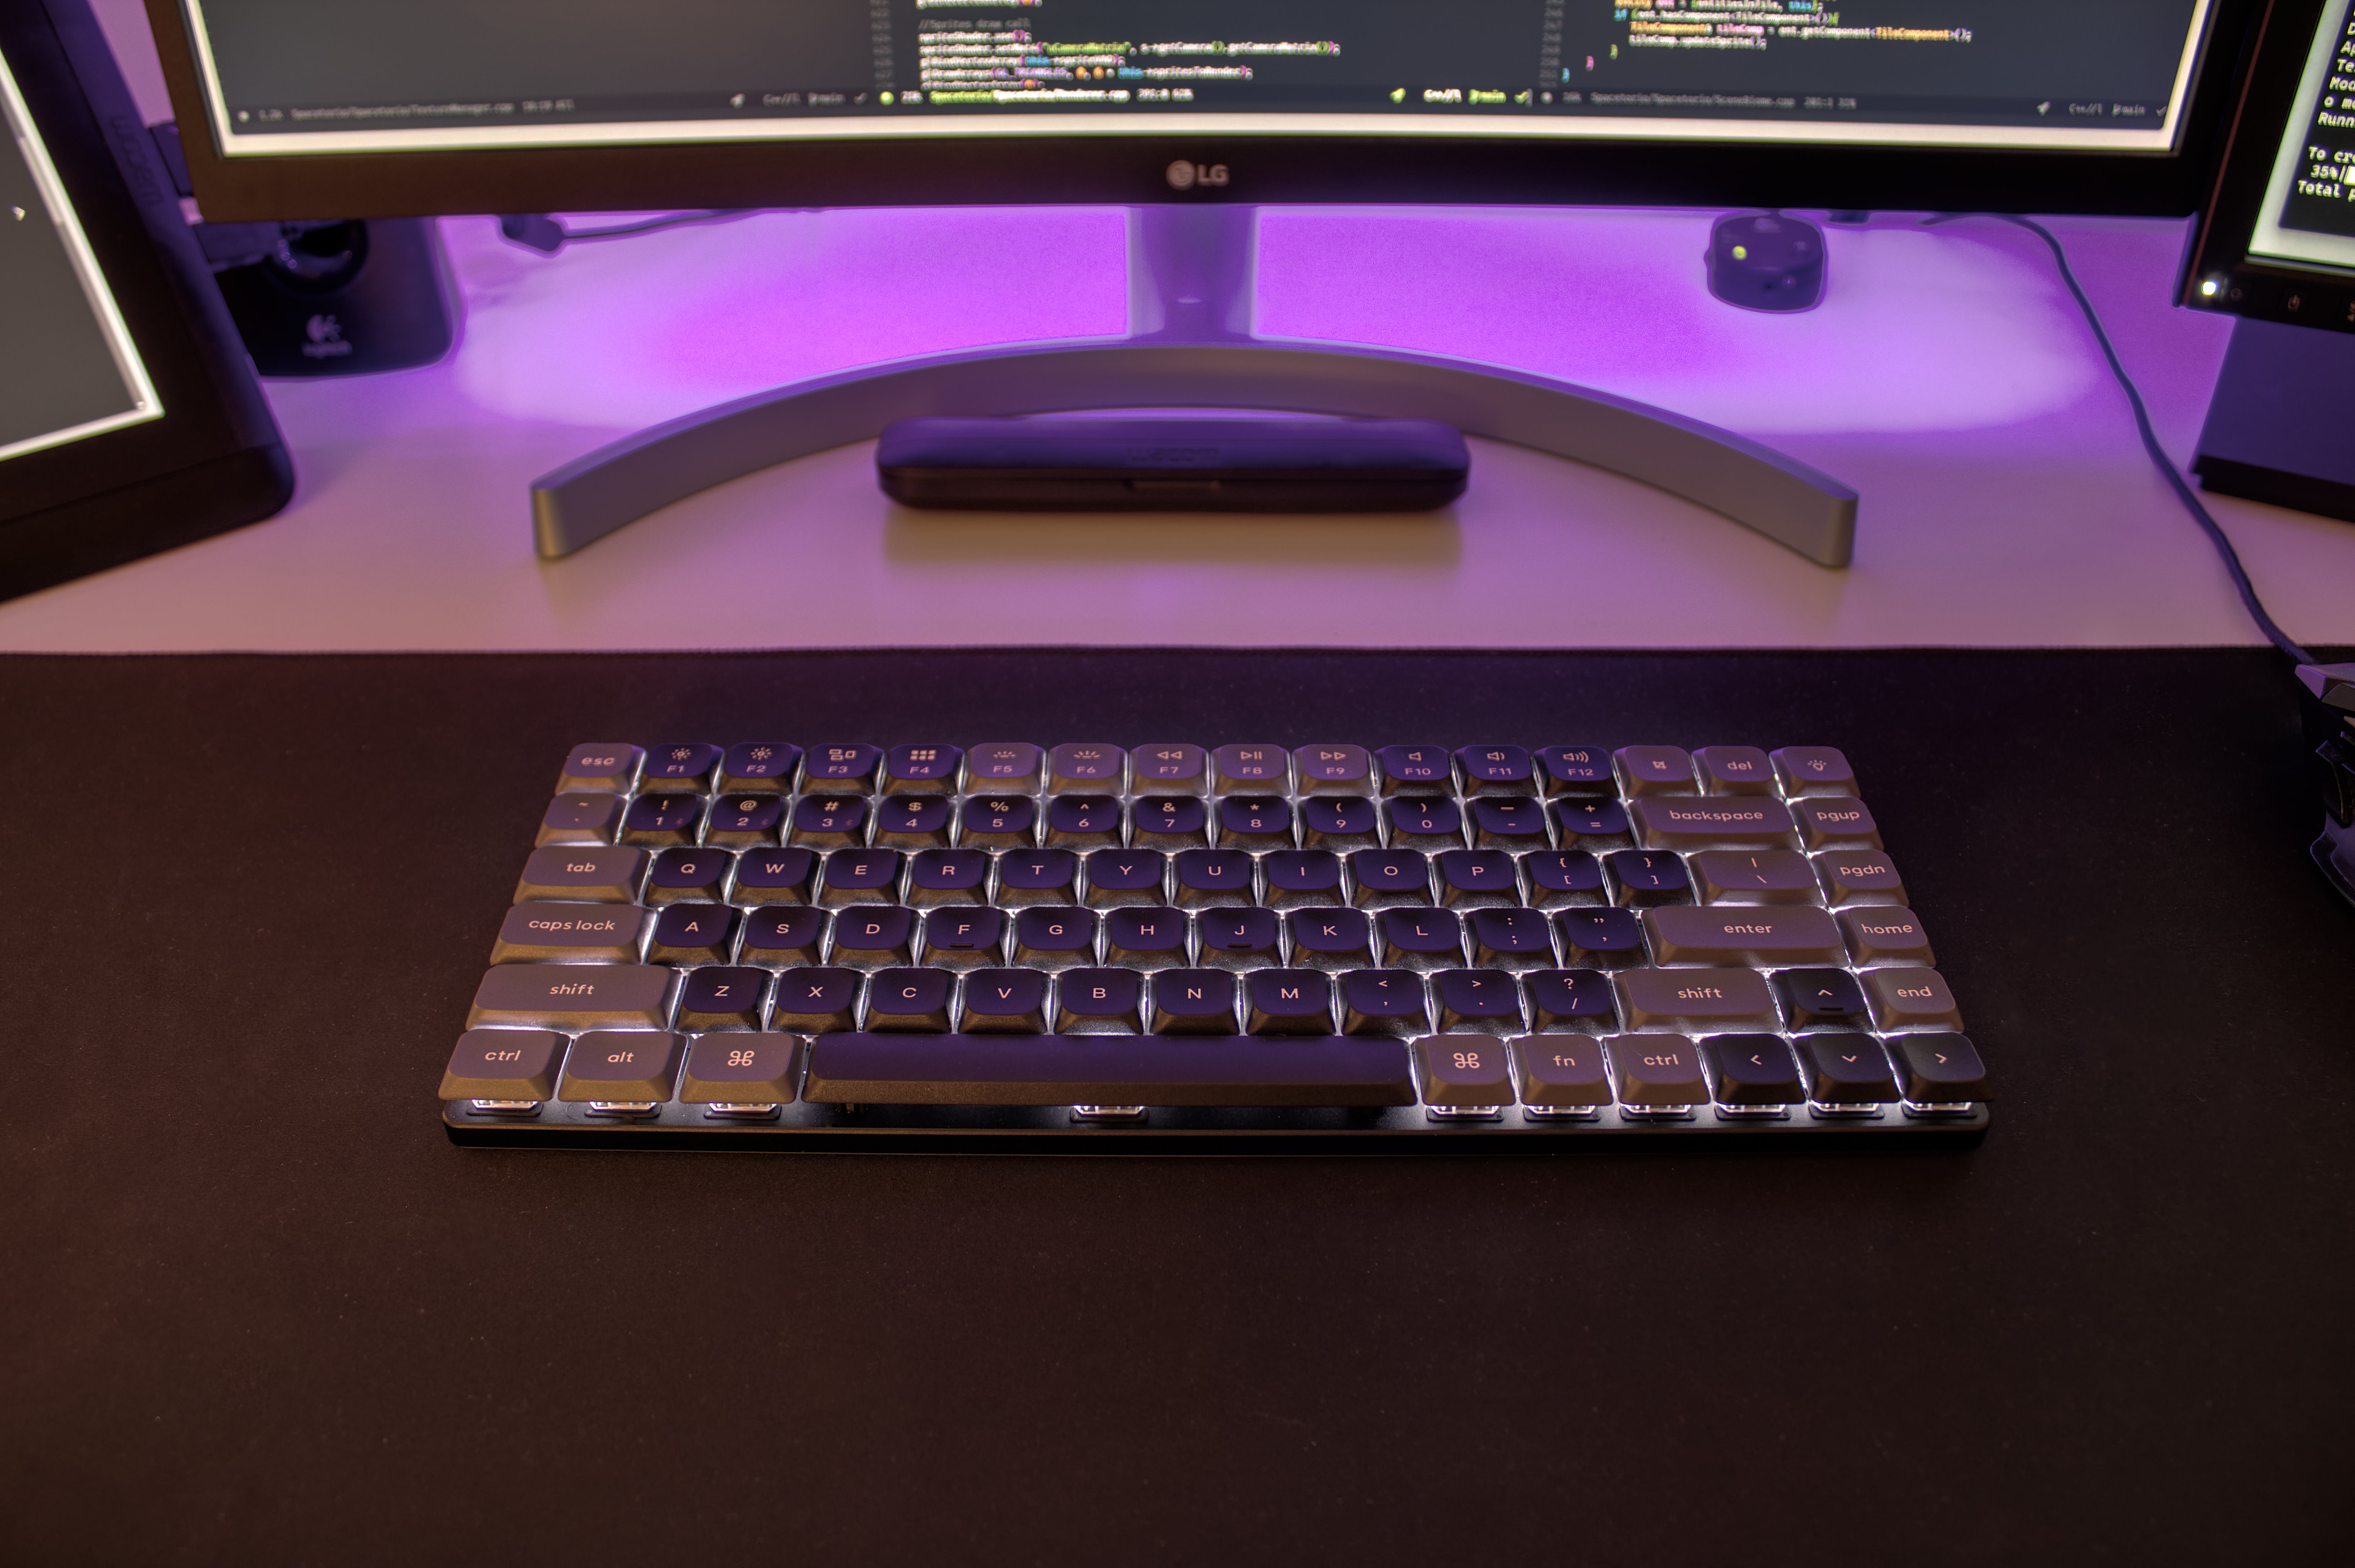
Shutter Speed: While using a tripod for stability, I could slow down the shutter speed (e.g., few whole seconds or even longer) to capture the most light as possible from the set. This allowed me to emphasize the glow of LEDs.
-
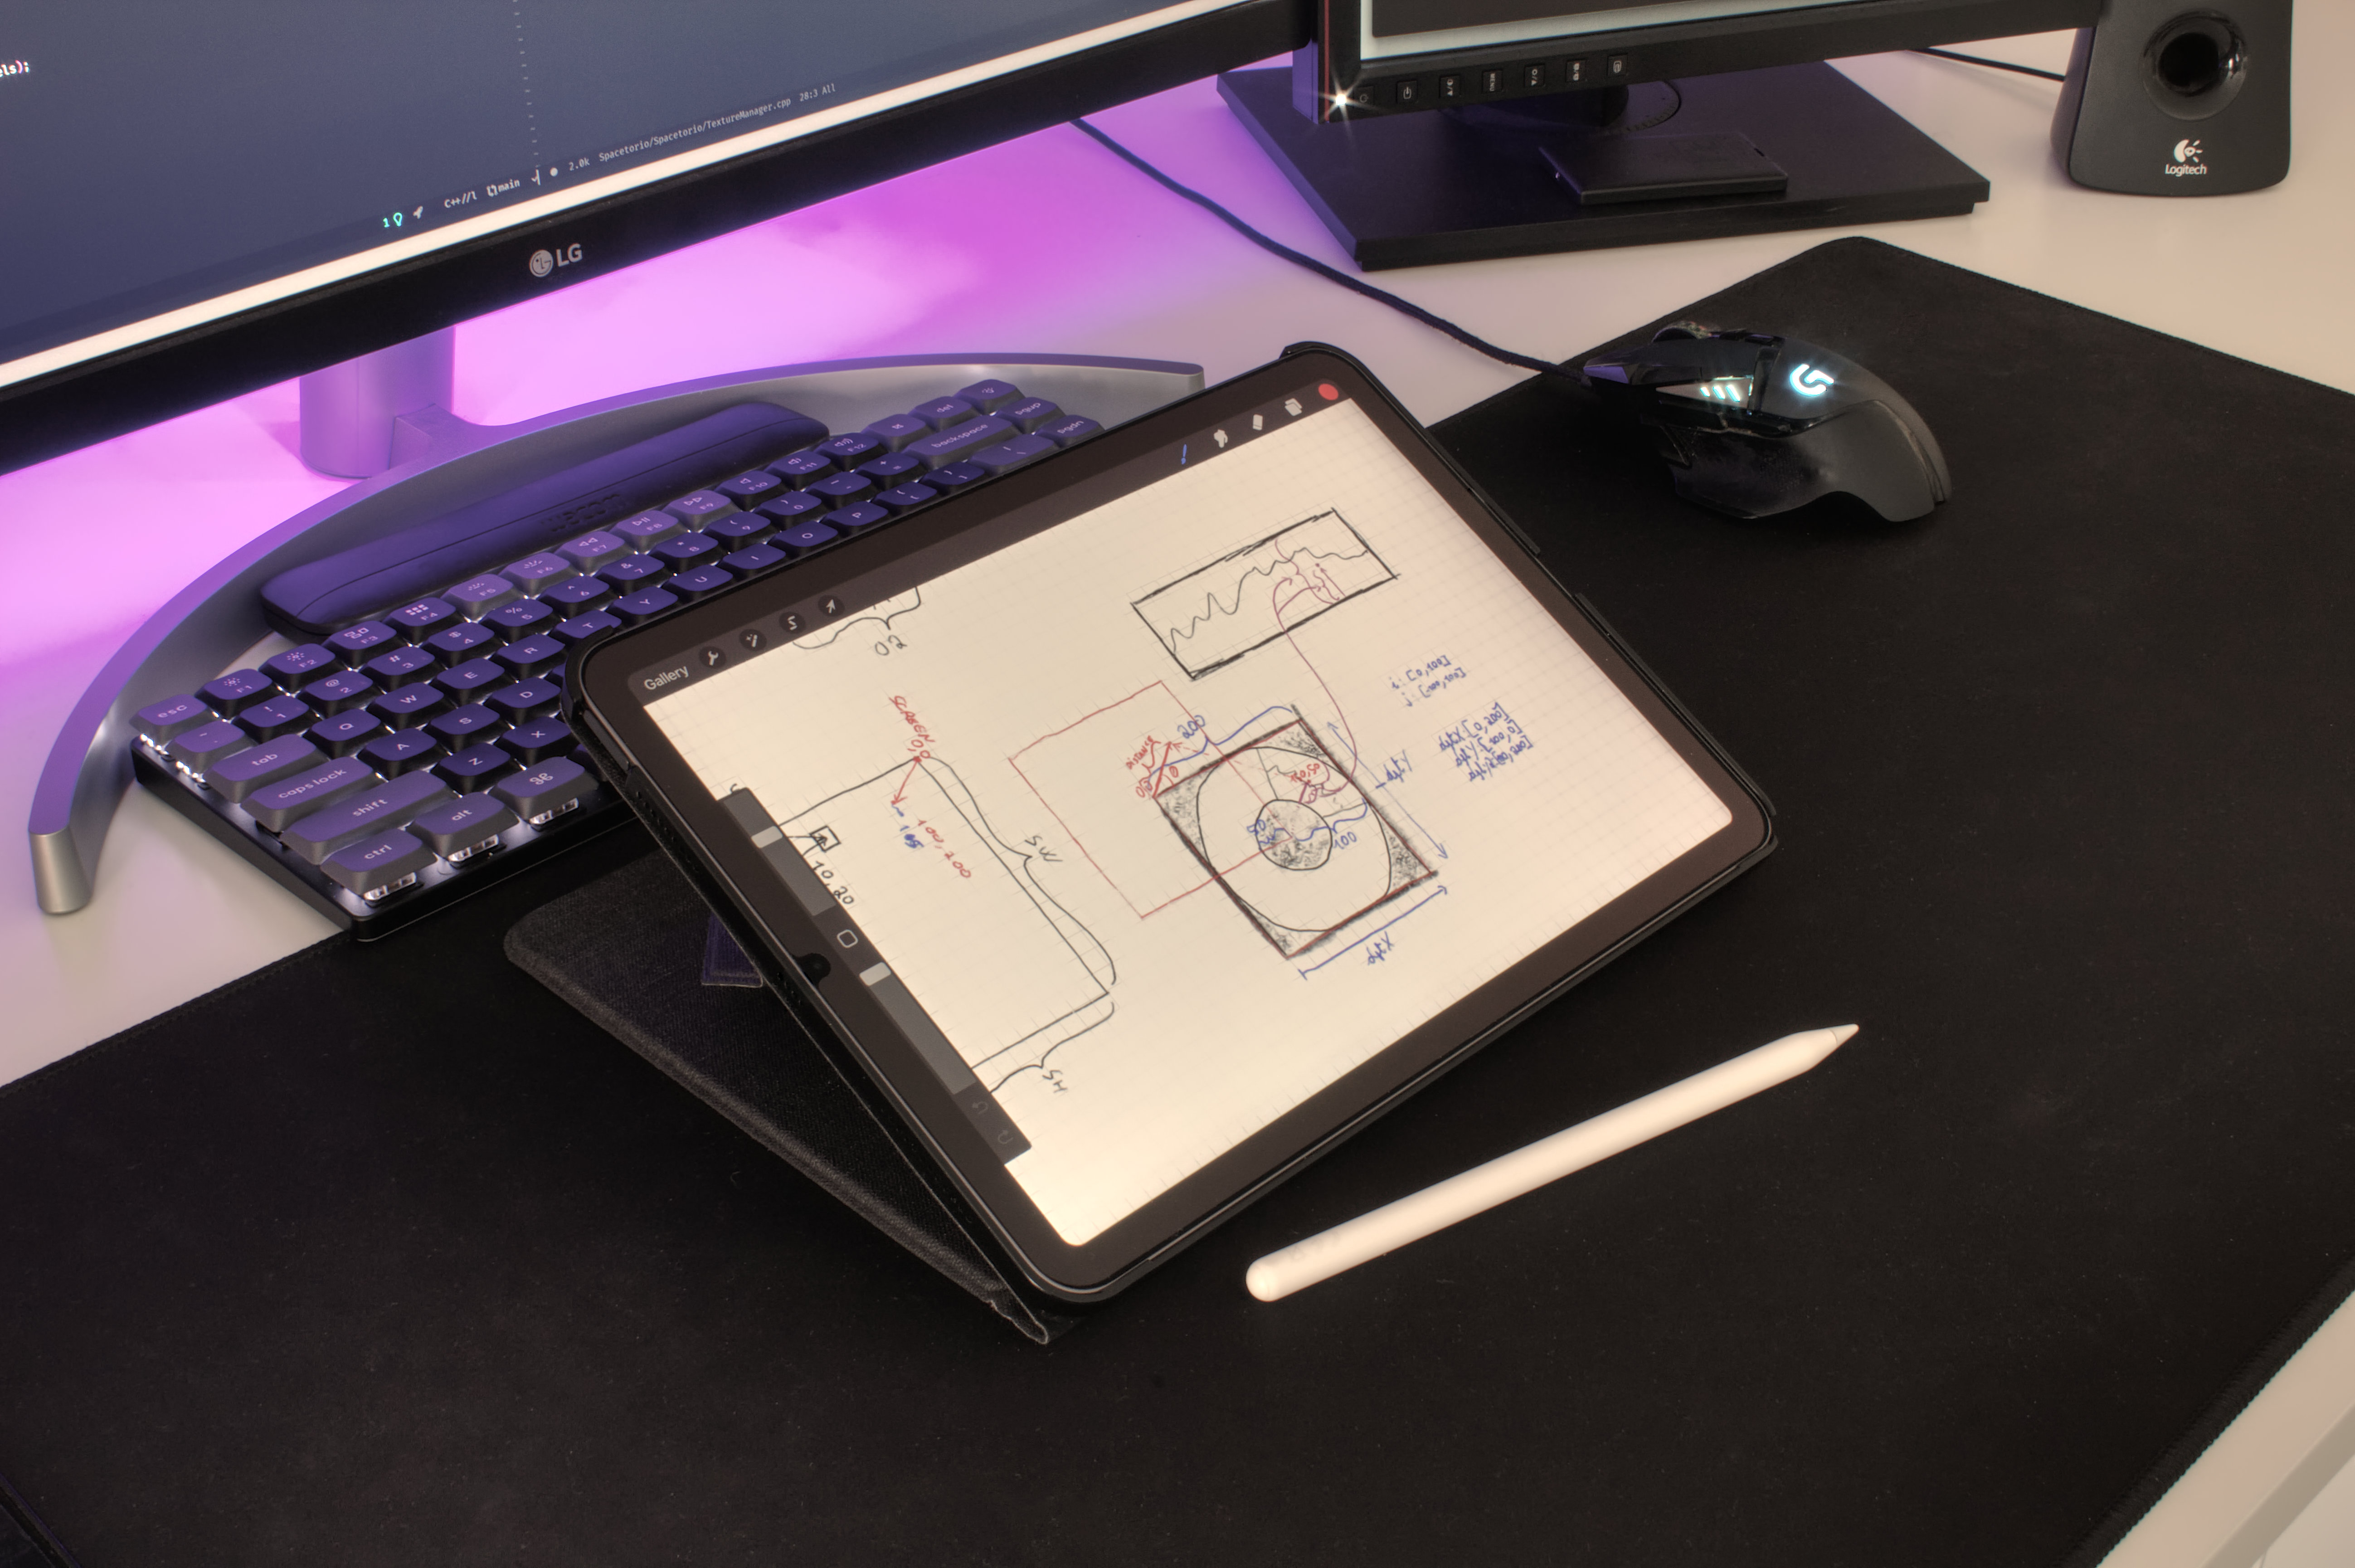
Focus: Manual focus was invaluable for highlighting specific elements on my desk. I fine-tuned the focus to capture the sharp details of my coding work or the aesthetics of my projects.
HDR Experiments
In addition to these settings, I also tried a non-standard technique. I shot in RAW format and, for each photo, captured three shots at different exposures. Later, I merged these exposures into an HDR (High Dynamic Range) image using Affinity Photo. This method allowed me to capture an even wider range of lighting details and enhance the overall quality of my low-light photography during the editing process to achieve a distinct and personal look.